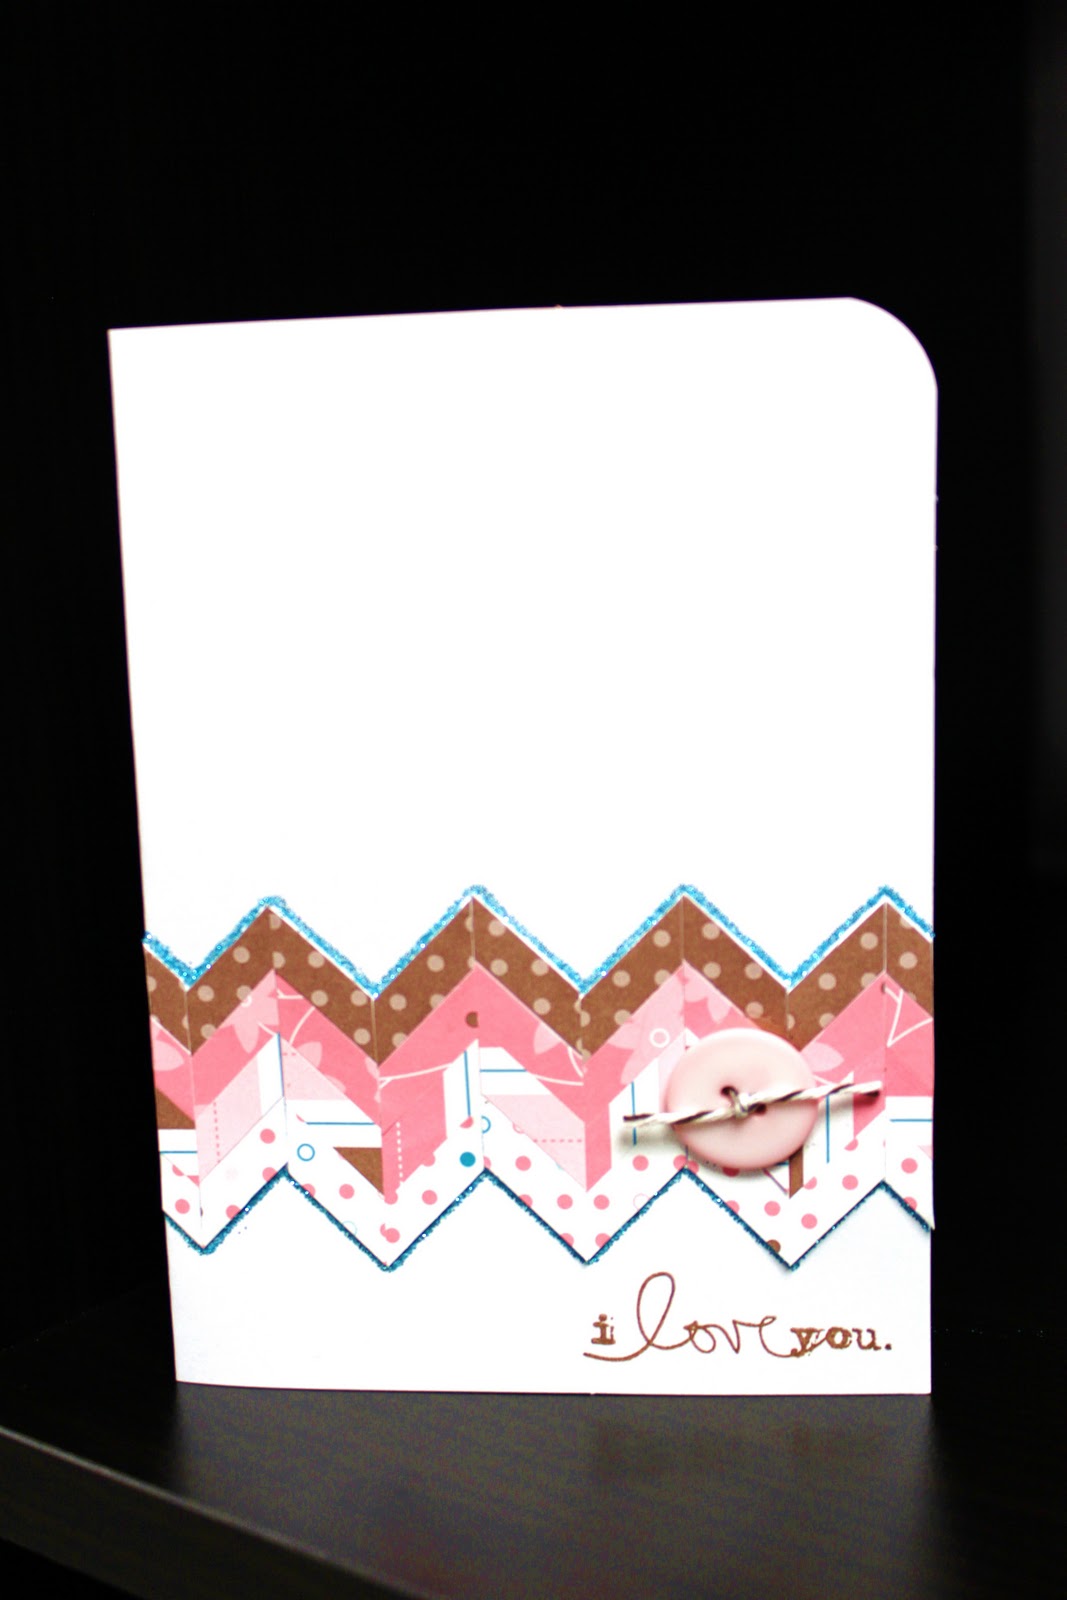
Card #1: Chevron City!
I absolutely love following Jennifer McGuire's blog, because she is one of the most talented crafters out there today. I got the idea for the chevron stripes card from her you tube video here. It includes a step-by-step tutorial if you are interested in recreating these cards. Just keep in mind, this type of card is very time consuming.

I love all of the different color schemes that were used on the cards. Some were very subdued and soft, while this one caught my eye, because of its cheeriness and how it reminds me of strawberries!


Supplies:
Cuttlebug MachineEmbossing Folders: Cuttlebug, Sizzix
Buttons & Twine: Papertrey Ink
Stamps: You Make Me Smile, Hope Your Day is Fabulous, So Sweet of You - Papertrey Ink; I love you - Ali Edwards for Technique Tuesday; Happy{Birthday} - Studio G
Card #2: Post It Mask
This card was one that I learned how to make while taking the Clean and Simple Card Class. You simply place a post it note in the center of your square card and stamp a large background stamp right over the top. The Post It masks off the center area where you can stamp your sentiment. I have found that the best combinations include versa mark ink for the background stamp, because you want it to be subtle an monochromatic and white gel pen/white ink for the sentiment. Lastly, the three little doo dads that are adhered over the sentiment should be done so with dimensional adhesive so they pop right off the page and topped with a little bit of stickles--Robbie's orders.
I didn't like this card when I first made it, but now that I have had time away from it, I realize that I really do love it!!!

I also really love this card, because the sentiment font has rounded edges just like the background stamp.

Supplies:
Stamps: Various. Many of the backgrounds are from Hero Arts, Many of the sentiments are from Studio G.Punches: Studio G
Patterned Paper: Basic Grey
Cardstock: Various
White Ink: Colorbox Chalk Ink Frost
VersaMark Ink
Stickles
White Gel Pen (Uniball Sigmo)
Cards #3 & 4: Sending Blessings Your Way
By Diane A.Diane always impresses me with the cards that she designs for our group. They are always very simple and easy for anyone to construct, but always pack a nice design punch and wow factor :-)
The butterflies were punched out using a large punch. The teal flower design was stamped and cut out. Very simple, yet very effective! And fun to see the same card done two different ways!


Card #5: Thinking of You
By Diane A.Again, another job well done on Diane's end! This card looks like it would take hours, but it was actually quite easy to assemble and went very quickly!!! Cut yellow polka dot paper, ink edges, and adhere to card base. Cut white rectangle. Add 4 patterned paper strips. Stamp sentiment. Round Corners. Ink everything. Adhere white rectangle to card. Punch 2 flowers and flower center. Glue layers to each other and down to the card. Add pearl. Done!
Great Design, Easy to Assmeble!


Supplies:
Patterned Paper: Crate Paper, Hobby Lobby
Sentiment Stamp: Studio G, Michael's
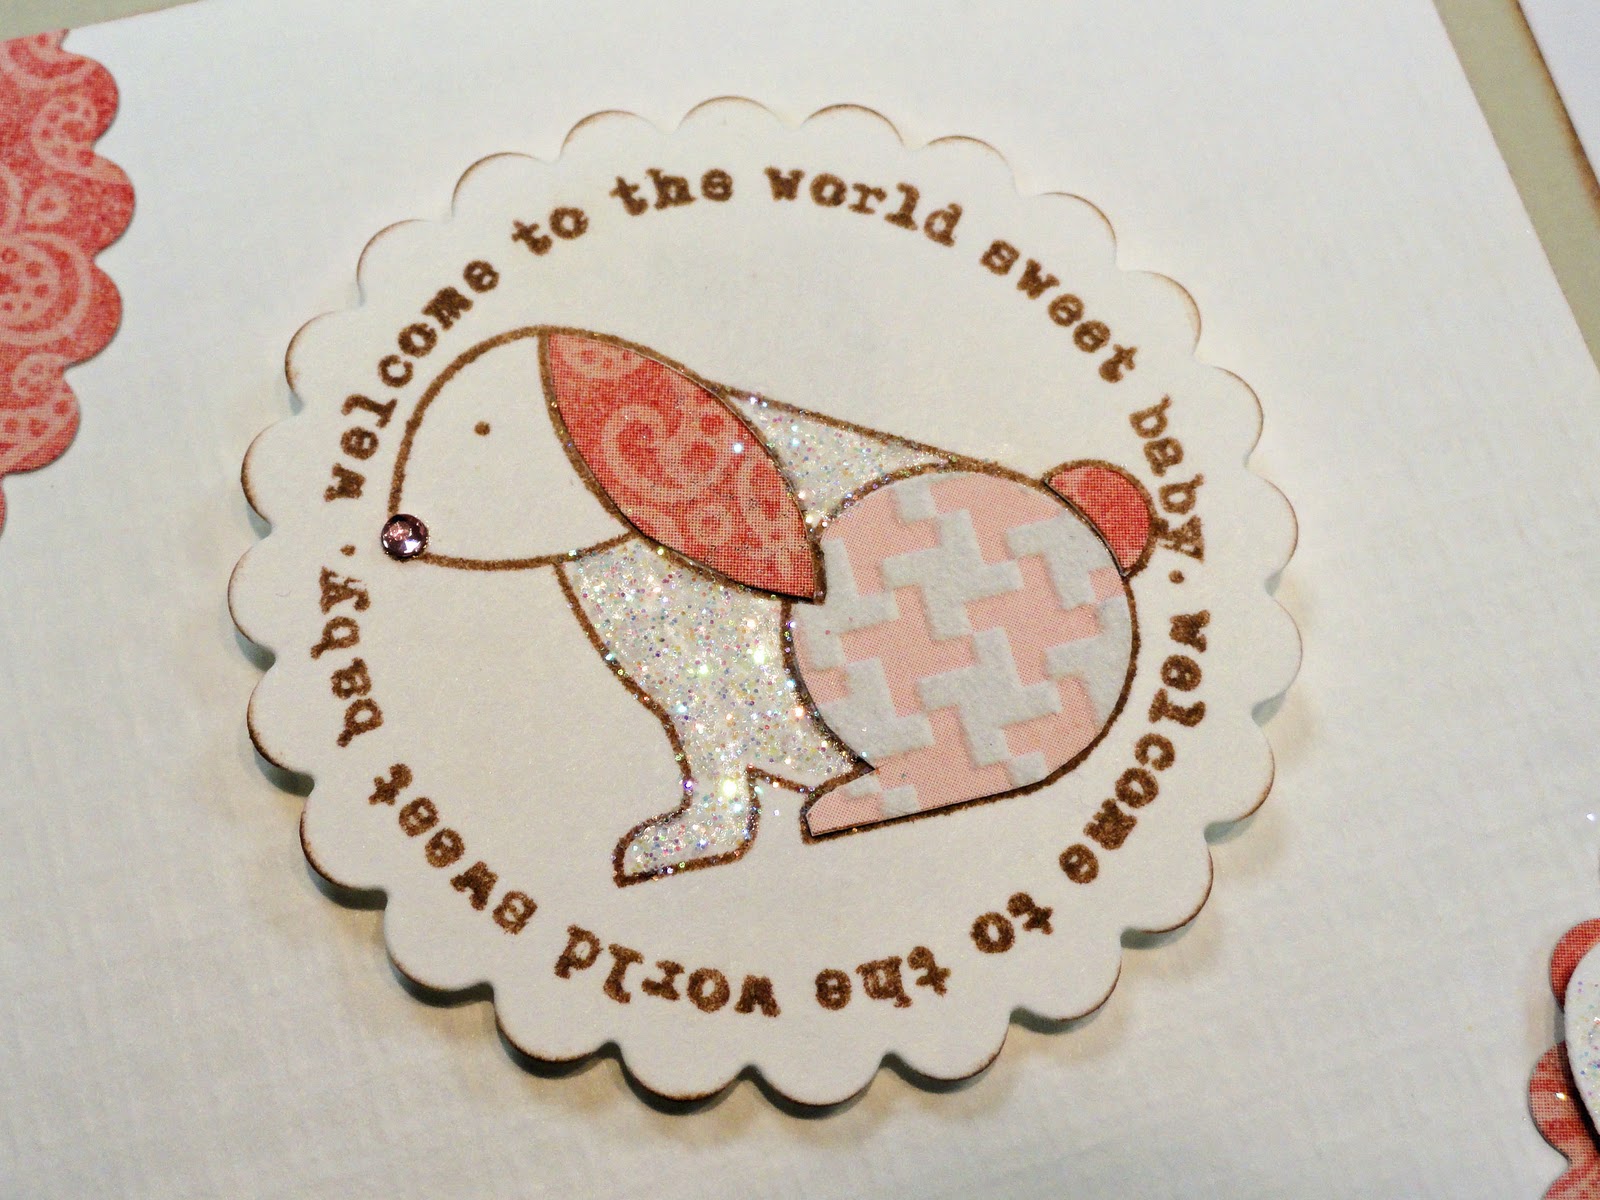
Card #6: Happy Birthday, Sweet Thing!


Supplies:
Cuttle Bug MachineSwiss Dots Embossing Folder - Cuttlebug
Stamps, Dies, Patterned Paper - Papertrey Ink
Rhinestones, Michael's
Stickles
Brown Ink - VersaFine Vintage Sepia
Pink - Papertrey Ink Raspberry Fizz
**I really regret having to do that, but my daughter's safety is our number one priority. I was not comfortable with the general public (I almost had 10,000 views!) knowing the ins and outs of Addison's daily routine. (Email me (only if I know you) and if you would like to follow that blog, because I can add you to my list of approved readers.)